It's Big Awesome Savings time
75% OFF FOR 6 MONTHS*
Need help choosing a plan?
Created with Sketch. 1800 917 771 Schedule a call
Need help?
We're here for you.
Schedule call
Created with Sketch.
Image Alt Text
product update

QuickBooks online attachments

Keeping track of receipts, invoices and paperwork related to your business can be a drag. The QuickBooks Online feature that allows you to add attachments makes your life a little bit easier, especially as the paperless-office trend continues to grow.

Having all your paperwork attached in QuickBooks Online can help your accountant at the end of the financial year, it makes it easy to follow up on supplier invoices and it gives you the freedom to access documents quickly while you’re on the go. It’s a faster and more streamlined process that will put your filing cabinet out of a job.

Why Would You Use Attachments?

Here are just a few ways the attachments feature can help:

  • Attach your receipts on the go when at Officeworks, Bunnings or any supplier store
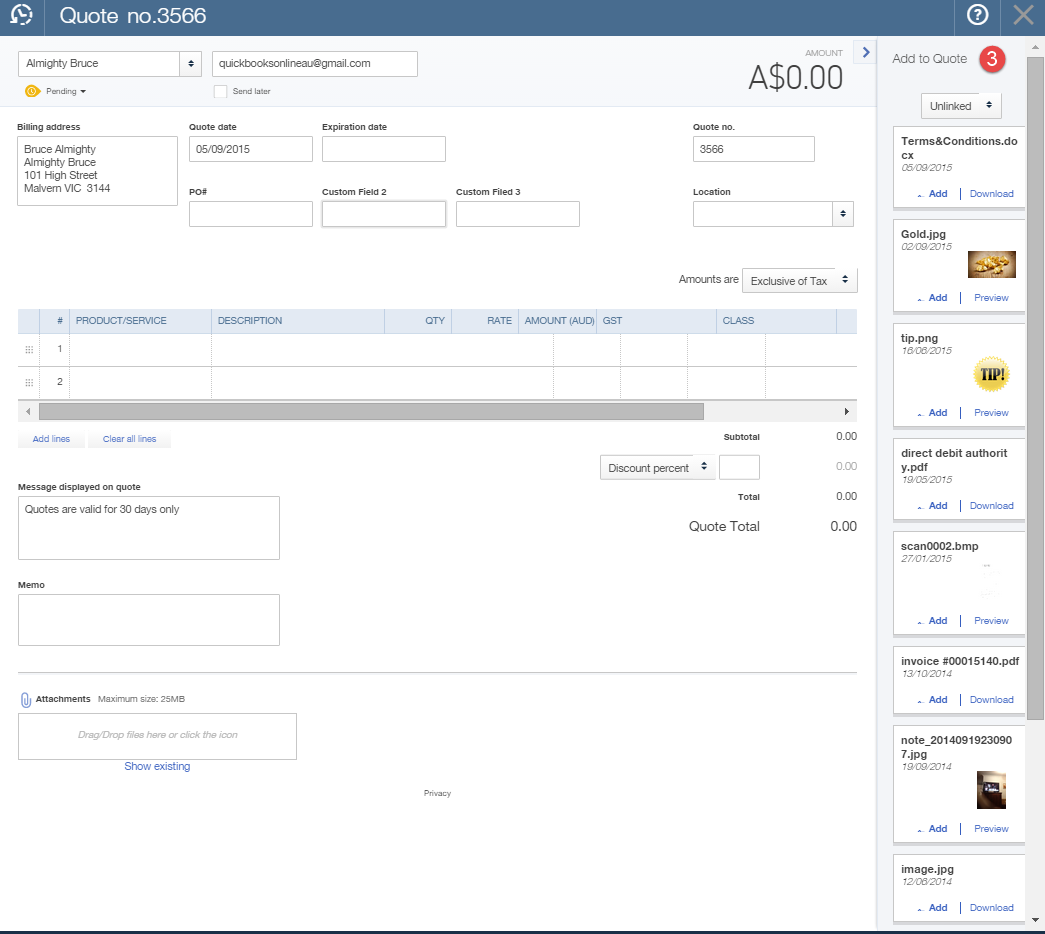
  • Attach quotes to your invoices if you are quoting outside of QuickBooks Online
  • Attach bills to the bills transaction or expense/cheque expense transaction
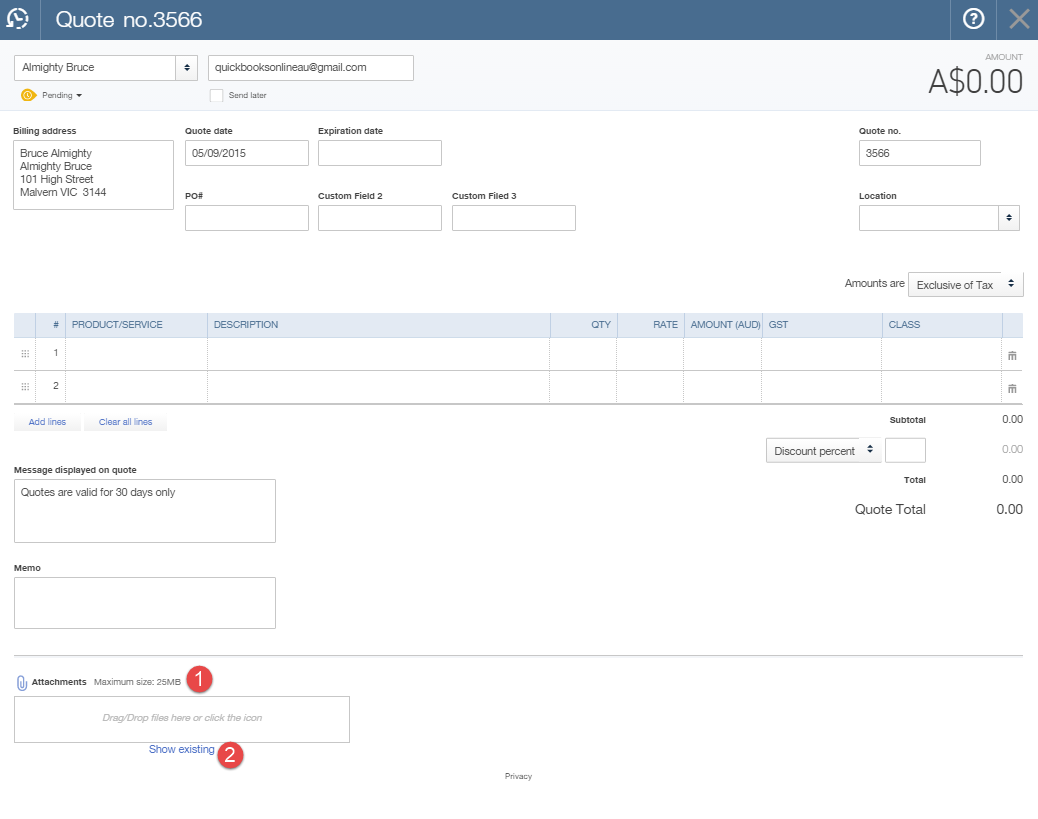
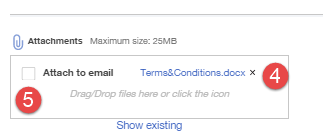
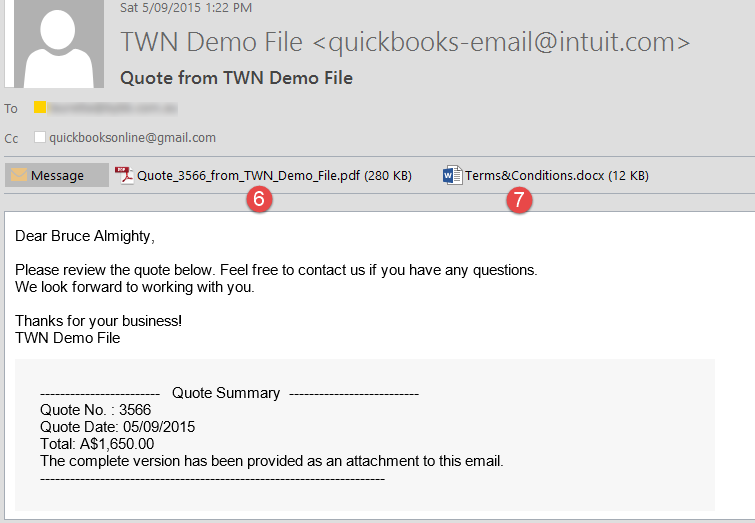
  • Attach your terms and conditions document to your invoice
  • Access the attachment anytime, anywhere
  • Attach supplier receipts directly when processing an expense or cheque

This feature gives you the flexibility to add an image or document to any transaction.

How Do We Add/Upload Attachments?

There are a few formats that you can upload into QuickBooks Online:

  • A PDF downloaded from a supplier email
  • An image
  • A photo from your iPhone or Android device (see notes below on the QuickBooks Online app and how easy it is to upload images)

There are two places in QuickBooks Online that you can upload attachments from your desktop version of QuickBooks Online or from any of your mobile devices on the mobile app.

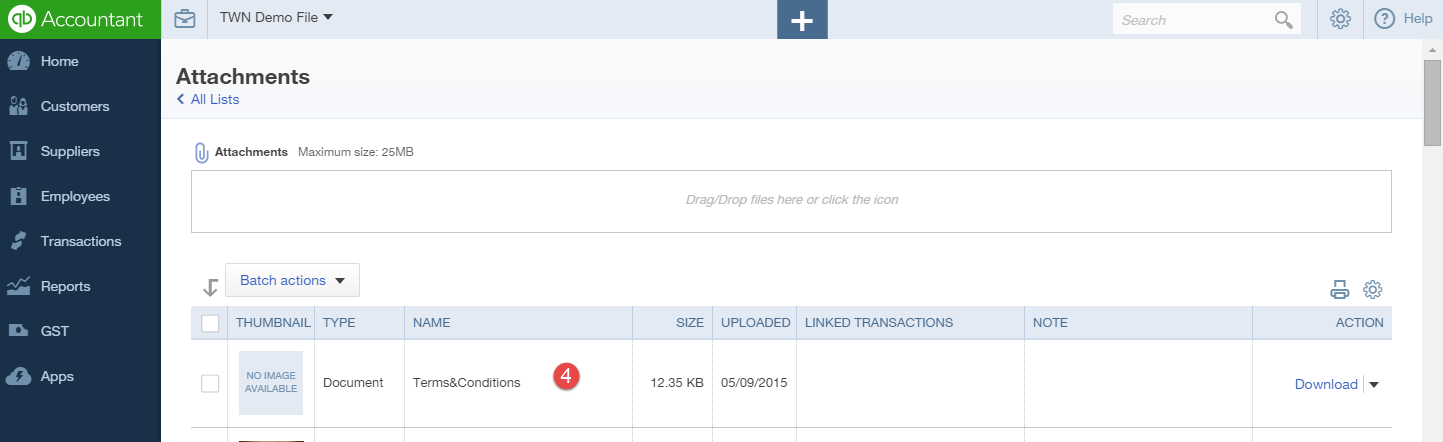
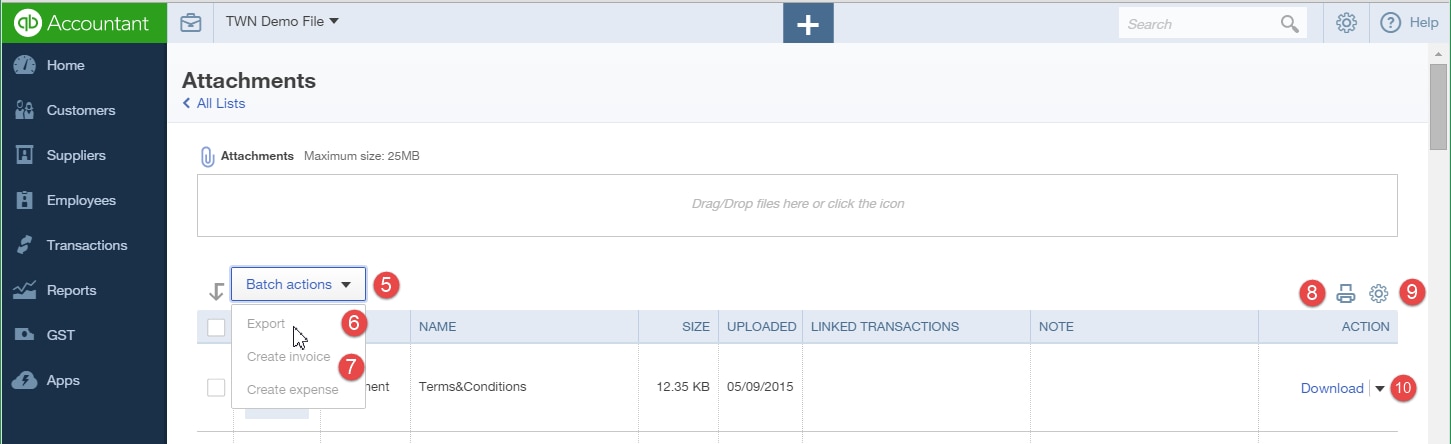
1. The Attachments Page

If you need to upload a batch of attachments and link them to other transactions later, for example the terms and conditions document, then follow these steps:

Cog wheel (1) > under Lists > Attachments (2)

Quickbooks Online attachments2
  • Drag/Drop files in the Attachments field (3), or you can click on the Attachments paper pin icon, find the location of the document you want to upload and then click Save to upload
  • Maximum size 25MB
Quickbooks Online attachments2
  • Once uploaded, it will appear automatically in the uploaded area for your review (4)
Quickbooks Online attachments 3

The Attachments window also has the following features:

  1. Batch Actions – Export and process transactions directly from this window
  2. Export the image or document > Tick the box required and click Export
  3. Create Invoice or Create Expense > Tick the document you want added to the transaction and choose either Create Invoice or Create Expense
  4. Print the list of attachments in your file from the printer icon
  5. From the Cog Wheel, choose which columns are shown in this window
  6. Edit, Delete, Create Invoice and Create Expense from the dropdown box under Action
Quickbooks Online Attachments 3

2. Creating a Transaction

You can create a transaction in any of these windows: Quote, Invoice, Bill, Expense or Cheque.

  • In the transaction window, scroll down to the bottom left-hand side
  • In the Attachments field (1) you can drag and drop the attachment, or click on Attachments, find the location of the document you want to upload and then click Save to add to the transaction
  • Click on Show Existing (2) to open the right-hand side drawer (3) if already saved previously in the Attachments window. Choose which attachment you need to add from the box and click Add to add as many attachments as you like
Quickbooks Online attachments 4
Quickbooks Online attachments 5

Once you have added the attachment to your transaction, you have the option of sending it to your client:

  • Using the quote above as an example, add the first attachment by clicking The saved attachment “Terms&Conditions.docx” (4) moves to the Attachment field. Tick the box Attach to email (5) to email this attachment with your quote to your client. Click on Save and Send in the bottom right corner to send the email
Quickbooks Online attachments 6
  • You can see the quote (6) and the attachment (7) in the email below
Quickbooks Online attachments 7

3. iPhone, iPad or Android QuickBooks Online App

To add attachments on your device and on the QuickBooks Online app:

  • On the left-hand-side navigation bar, click Click the blue + icon found at the bottom middle. This will bring up a page for a New Expense
  • Click on the camera icon (1). Click Take Photo or Choose Existing (2). Choose a photo from your library or take a shot of your receipt/attachment. This will load to your app.
  • Once you complete the expense information required for this transaction, click This will automatically save to your QuickBooks Online file.
  • We will dive deeper into this in the next blog
Quickbooks Online attachments9

The QuickBooks Online Attachments feature makes processing your invoices, receipts and paperwork on your desktop much easier. For those of you out and about doing business, the QuickBooks Online app allows you to sync attachments to the cloud with the click of a button. It’s never been easier to take control of your documents and house them all in the one place, so you can access them anytime and anywhere.


Related Articles

Looking for something else?

Get QuickBooks

Smart features made for your business. We've got you covered.

Help Me Choose

Use our product selector to find the best accounting software for you.

QuickBooks Support

Get help with QuickBooks. Find articles, video tutorials, and more.

Stay up-to-date with the latest small business insights and trends!


Sign up for our quarterly newsletter and receive educational and interesting content straight to your inbox.

Want more? Visit our tools and templates!

By signing up you are agreeing to our terms and privacy policy.

A person is smiling and holding a laptop.